Planning a successful webinar is only a daunting process if you don't break it down into its core steps. This guide will walk you through the sequence of actions you need to take to go from step zero (where you are now) to hosting engaging virtual events.
Specifically, we'll go over how to:
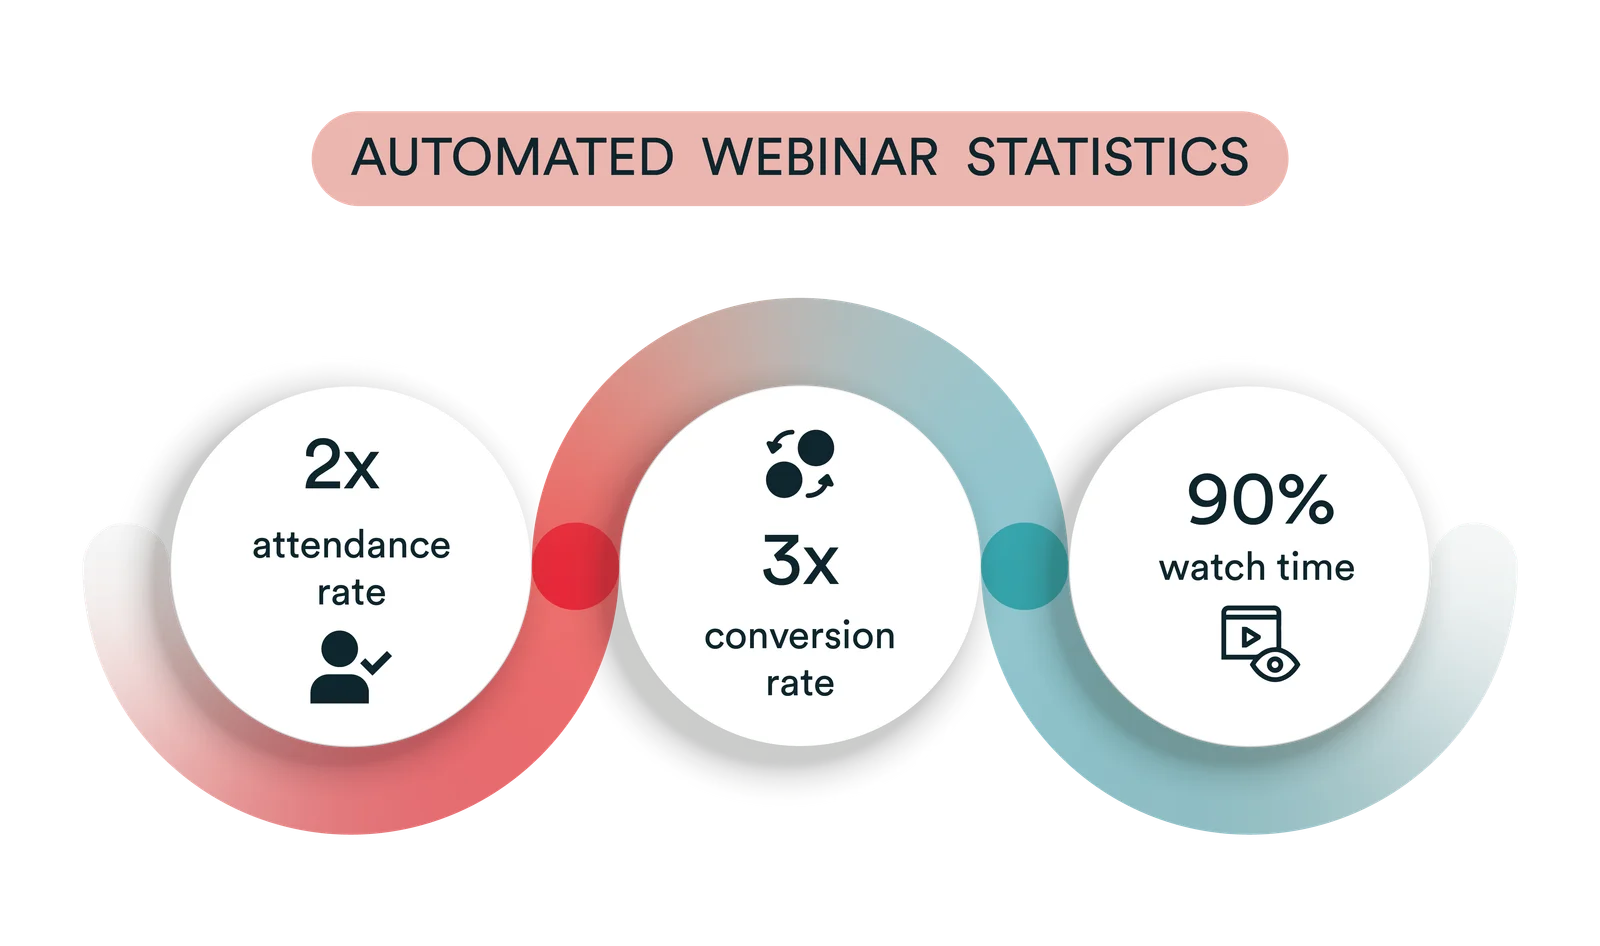
We'll also show you a bonus step at the end that can double attendance and triple conversions!
Let's dive in!
Webinar planning: a step-by-step guide
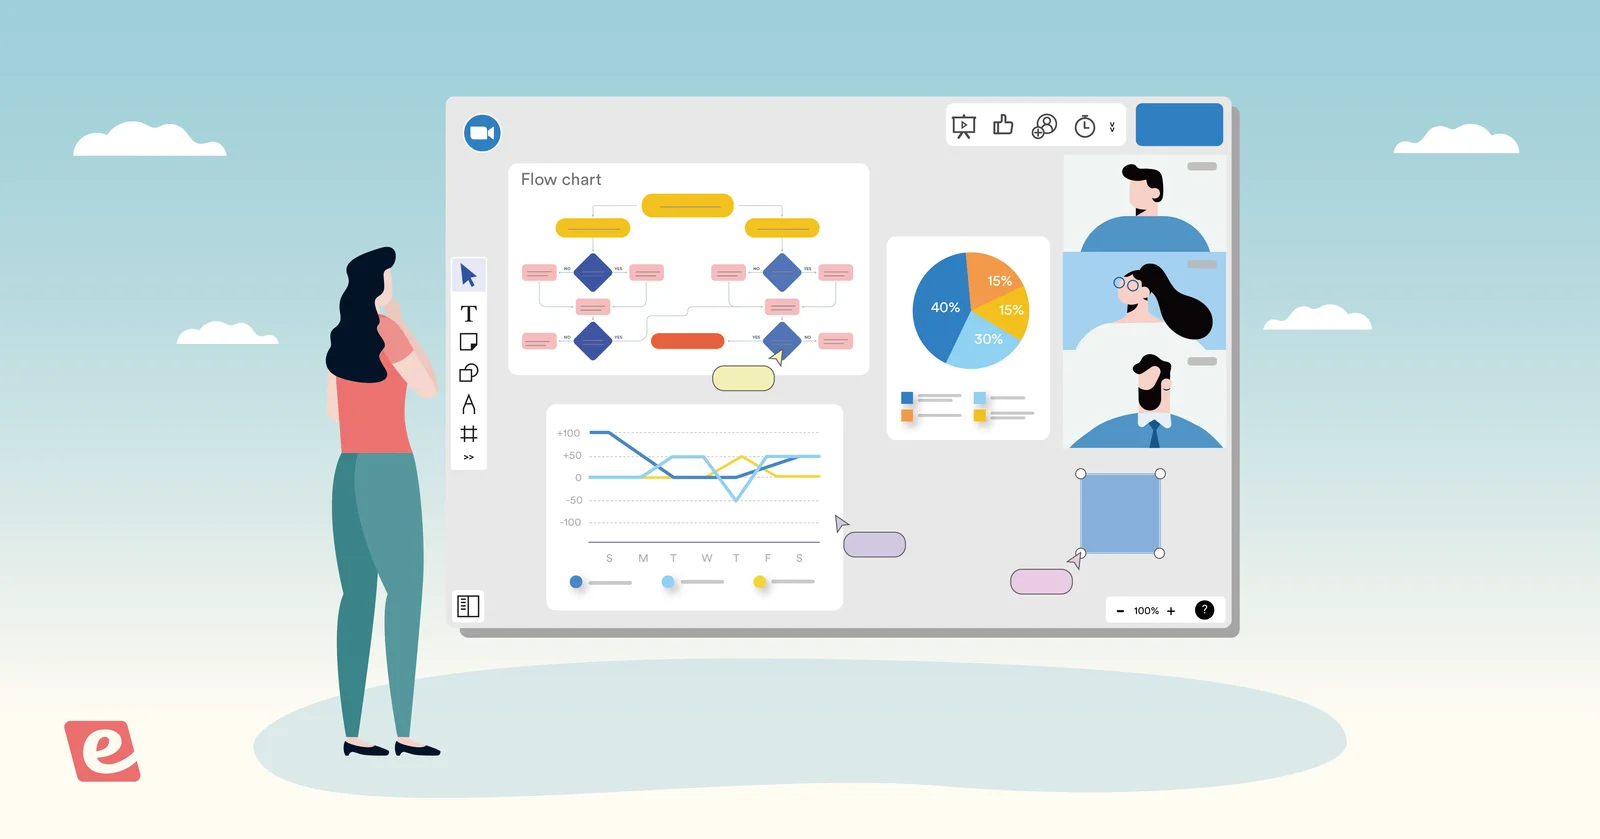
Here's a detailed walkthrough of the nine core steps of planning your webinar!
Step 1. Define webinar goals
The first thing you'll need to do is determine the purpose of your webinar. It's best practice to strike a balance between business objectives — such as building a brand, generating leads, or driving sales — with the goals of your audience and the problems they're trying to solve.
Tip: Once you've set your goals, you can use webinar analytics to measure progress and performance.
Step 2. Identify target audience
Speaking of your audience's goals, the next step is to define your target audience. This will help you create buyer personas based on who they are, what problems they're facing, and which goals they might have when attending your webinar.
There are four questions you need to answer before someone will sign up for your webinar:
-
Is this for me?
-
Who’s behind this training?
-
Can I trust what they’re teaching?
-
When can I watch?
Knowing who's asking the questions will make it a lot easier to answer them correctly.
Tip: Be careful not to cast too wide a net — having one or two buyer personas is enough. The more specific you are, the more effective your webinar will be.
Step 3. Choose your topic
Your webinar topic should align the goals of your business with the needs of your audience. When a complete overlap isn't possible, err on the side of solving your attendees' problems to ensure that your presentation has maximum value.
Brainstorm webinar ideas based on your goals and audience until you have 10-20 candidates. From there, narrow the list down to the top three or five topics you feel have the most potential. Once your top contenders are selected, you can either:
-
Choose one yourself (based on your expertise, interests, and gut)
-
Let your audience choose (through online polls on social media)
-
Tackle all of them one by one (in order of the topic's potential)
Step 4. Set a time/date
When planning your next webinar, finding an ideal time to host it is paramount to attract the largest number of webinar attendees. Based on research, the best time and day to host a webinar is Wednesday and Thursday at 11 AM or 2 PM.
Here's the problem: you will never be able to accommodate everyone — at least if you're doing webinars live.
If you’ve never considered it before, this is where webinar automation shines. For example, the reason customers of our webinar platform, eWebinar, get attendance rates of 80% to 90%+ is because they automate their webinar to make it available 24/7.
There are two scheduling options you can choose from when creating an automated webinar:
-
On-demand webinars. On-demand webinars are available instantly which means attendees can join right after registering. Webinar replays also fall into the on-demand category but have added playback controls so attendees can rewind, pause, or forward it like a YouTube video.
-
Recurring webinars. Running your webinar on a recurring schedule at the same time will help you capture leads who aren't ready to attend the presentation immediately. Our dynamic time zone feature can adjust the start times based on which time zone a registrant is in.
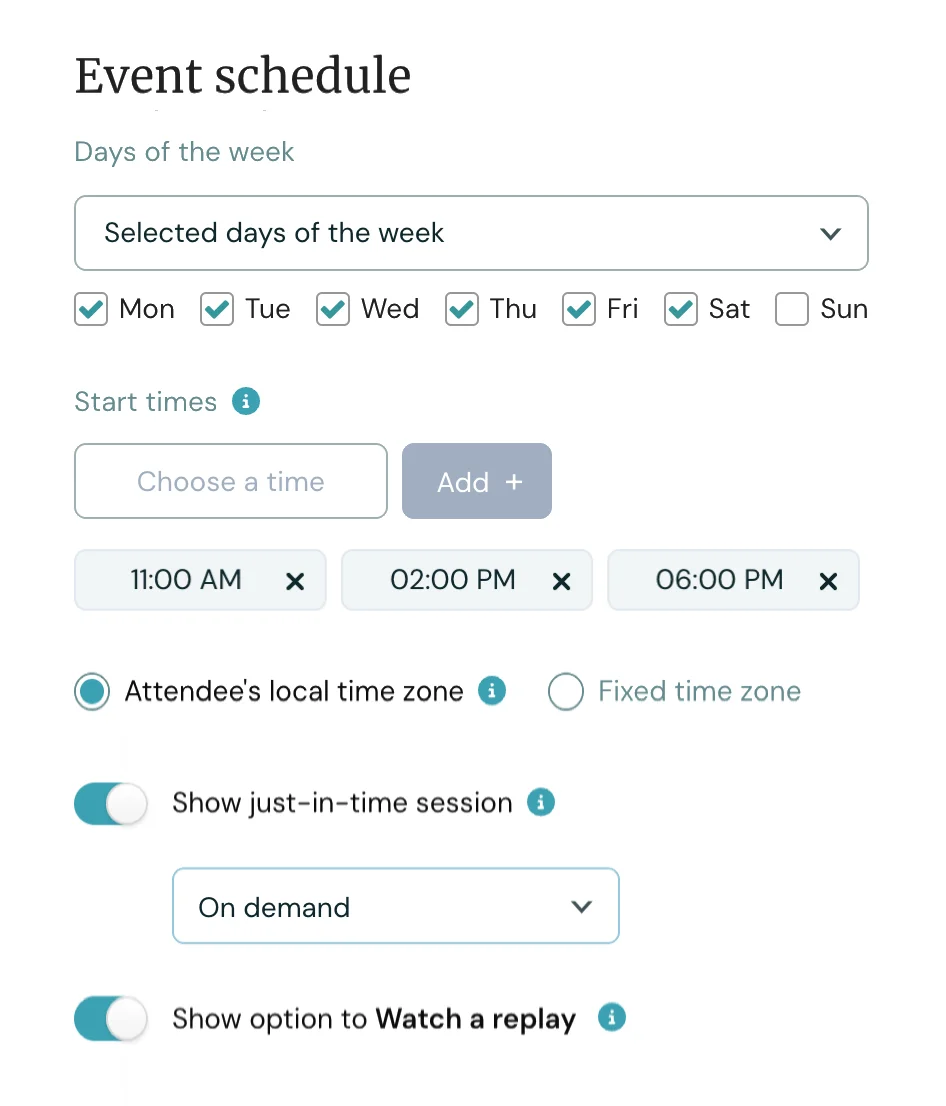
We're one of the few webinar options that let you enable both options simultaneously — meaning you can offer webinars on-demand, set them on a recurring schedule, and provide replay links. These flexible scheduling options make it as convenient as possible for people to attend your webinar which, in turn, boosts your attendance.
To experience an on-demand webinar for yourself, watch our demo!
Step 5. Select a platform
There are many webinar platforms to choose from. That said, not all webinar software is created equal so it's important that you find the right webinar tool for your needs. We have a full guide on the Best Webinar Platforms but we'll list the webinar tools covered in it below!
Best live webinar platforms:
-
ClickMeeting
-
Livestorm
-
BigMarker
-
Zoom
-
GoToWebinar
Best pre-recorded webinar platforms:
-
eWebinar
-
Demio
-
EasyWebinar
-
WebinarGeek
-
EverWebinar
When comparing the platforms above, it's also helpful to know which features you should be looking for.
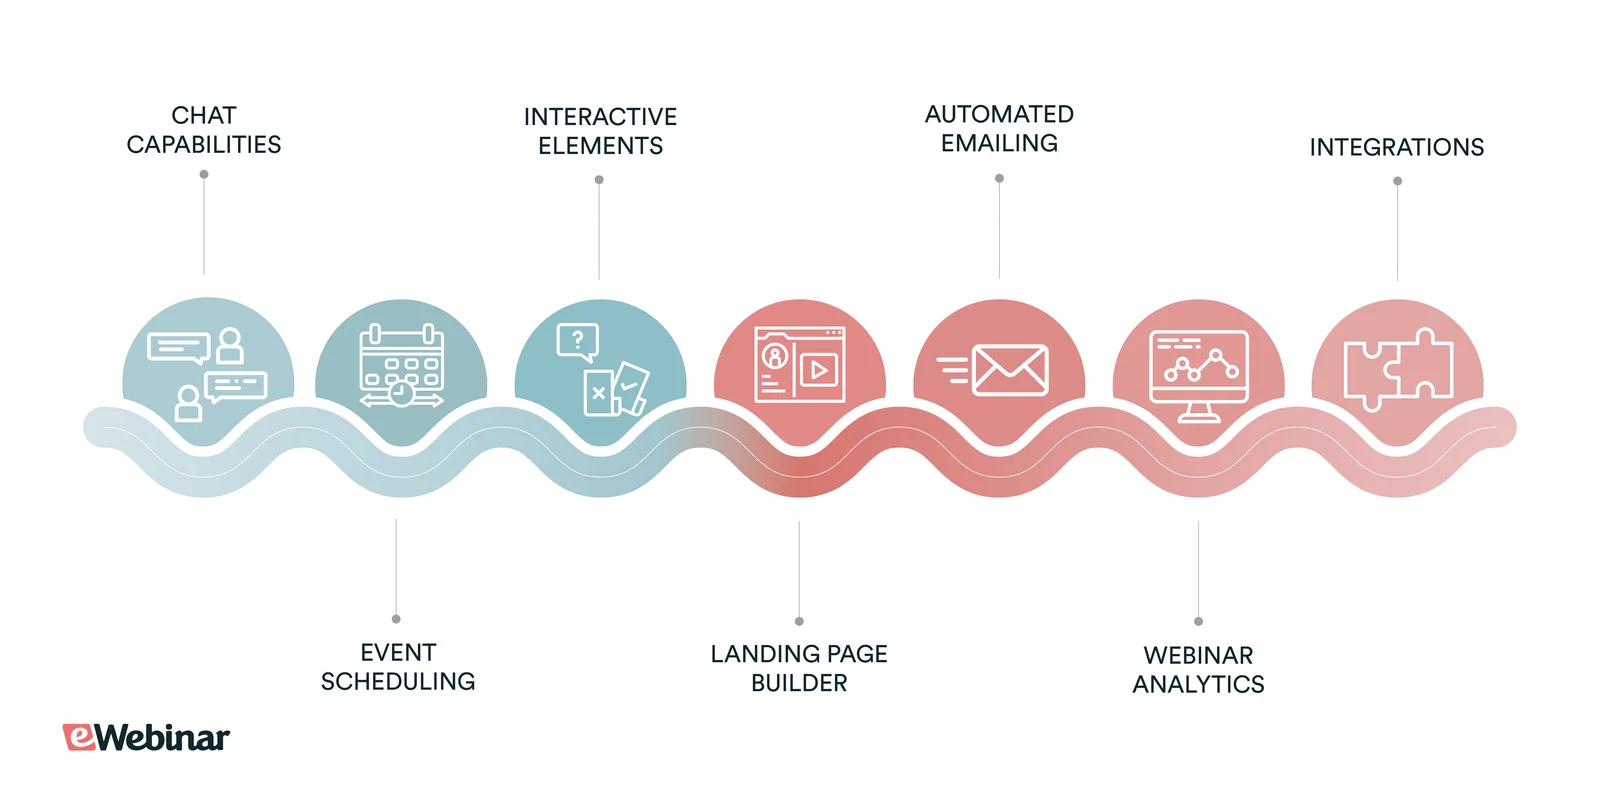
Must-have webinar platform features:
-
Chat capabilities. If attendees can't communicate with the webinar host then they might as well just be watching a normal video. In the same vein, hosts who aren't able to contact their audience during and after the webinar will be missing out on countless warm leads.
-
Event scheduling. Make sure the platform has enough flexibility to meet your scheduling needs. This might include the ability to set a recurring schedule or offer your webinars on demand to increase attendance.
-
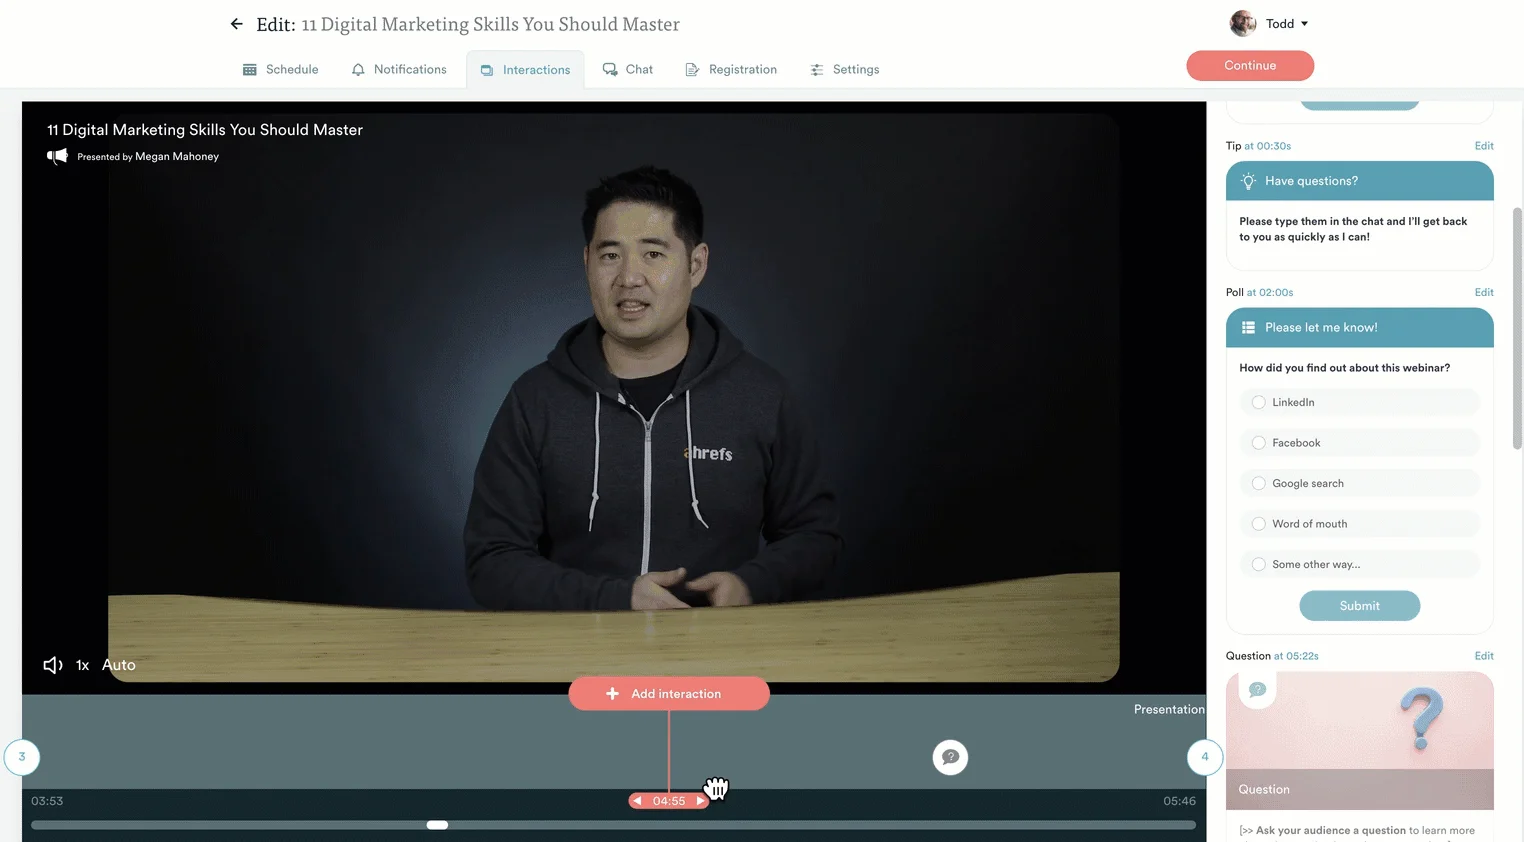
Interactive elements. Having interactions — like questions, quizzes, polls, contact forms, or special offers — appear during the presentation will encourage participation amongst attendees and keep your audience interested for longer.
-
Landing page builder. Building landing pages that make it easy for people to register for your upcoming webinars is a crucial step of the process. This is why the platform you choose should be capable of building landing pages, integrate with tools that are, or (ideally) support both options.
-
Automated emailing. Automating a series of emails that serve as your reminder or follow-up sequences — before and after the webinar respectively — will help you increase attendance and conversions without spending an enormous amount of time manually sending individual emails.
-
Webinar analytics. Webinar analytics help you measure the performance of each presentation, measure progress toward your goals, and identify the key elements of an effective webinar. This provides the actionable insights you need to continuously improve your webinars.
-
Integrations. Any platform that tries to do everything usually becomes a jack of all trades but a master of none. A truly valuable tool should do one thing exceptionally and then support third-party integrations that fill in the gaps.
Step 6. Create the presentation
Assuming you already have the necessary webinar equipment — such as a microphone, webcam, and ring light — it's finally time to create an engaging presentation for your audience. This part of the process will vary depending on which topic and format you'll be using for your webinar.
There are a few best practices that apply broadly to most webinars.
First of all, you'll want to use a professional presentation structure that covers everything on the agenda in a clear and digestible way. We usually recommend that you start with a proven presentation structure — and then iterate on that — instead of trying to reinvent the wheel.
One example is our five-stage demo structure designed for sales:
-
Agenda. Take a minute to set expectations for what the presentation will cover and put your audience into a listening mindset.
-
Backstory. Tell the audience about the problem you experienced and how it drove you to solve it with your product or service.
-
Competition. Demonstrate your product's reason for existing by going over the shortcomings of existing solutions and the unsatisfactory status quo.
-
Solution. Reveal your solution and talk about four core features that your customers love — then finish with a fifth benefit that's most unique or impactful.
-
CTA. Make your call to action by explicitly telling attendees what the exact next step they should take is.
The webinar CTA may not always be something you're selling. Those hosting thought leadership webinars may ask people to sign up for their newsletter while customer success webinars would likely prompt users to try a feature out for themselves.
However, if you're hosting a sales-oriented presentation, you'll want to practice the 80/20 rule.
The 80/20 rule — derived from the Pareto principle — dictates that you should spend 80% of your webinar providing value and 20% selling the audience. This will ensure that your audience receives sufficient information and value to convert at the end of (or after) the presentation.
If you're creating a pre-recorded webinar then the steps will be:
-
Upload the presentation video
-
Set your webinar schedule
-
Write email notifications
-
Add interactions
-
Configure chat
-
Build a webinar landing page
-
Publish and promote your webinar
To learn more, read our full guide on How to Create a Pre-Recorded Webinar!
Step 7. Conduct a dry run
To ensure the webinar runs smoothly on the day of the event, it's essential that you test things out beforehand. Of course, even if you test your software and hardware ahead of time there are other things that could go wrong.
Slow internet, power outages, and unexpected glitches are a looming threat to any live presentation.
We call this the Triangle of Technical Difficulties:
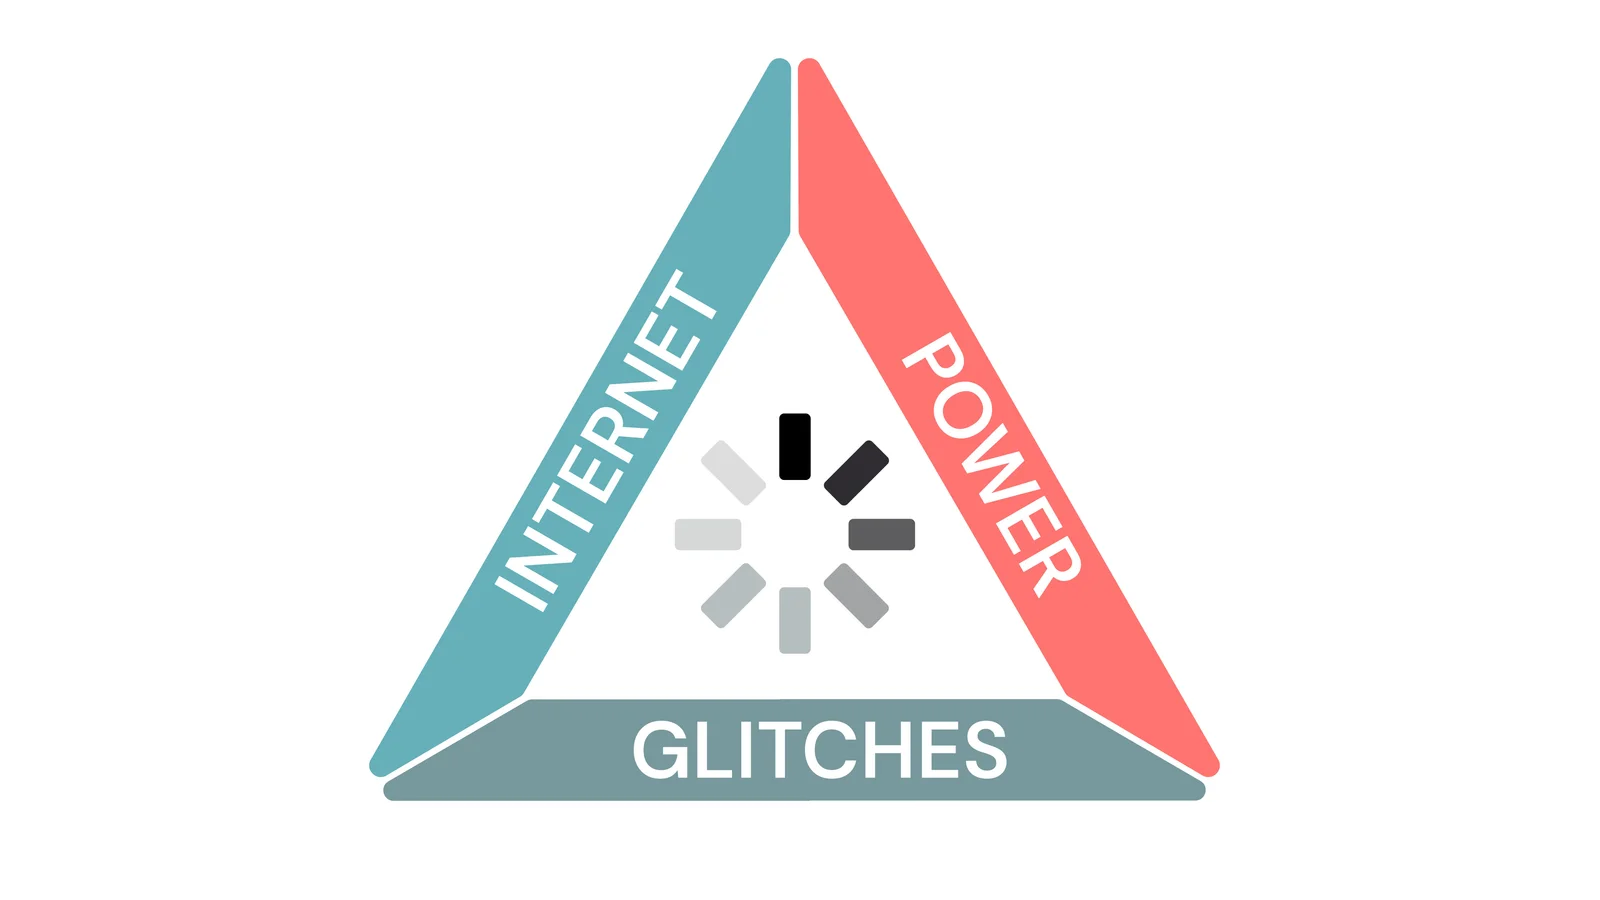
Note: The bonus step at the end will help you eliminate all these technical issues for good.
That aside, there are a couple of other things you should test during the dry run.
If you plan to incorporate interactive elements in your presentation, make sure they all work as intended and enhance the webinar instead of distracting attendees. Similarly, test out the registration form and payment processor (if you're hosting paid webinars) to make sure both are fully functional.
Step 8. Promote your webinar
Whether your marketing strategy consists of organic content, paid social media advertising, or influencer collaborations you'll need a way to drive targeted traffic toward a high-converting webinar landing page.
This is where the previous steps — if applied correctly — will come back into play.
Promotion won't do you much good if you have an uninteresting topic or inconvenient schedule. Similarly, a misaligned target audience will also hamper your efforts. After all, even the most compelling message will fall flat when directed at the wrong people.
Assuming you got all of that right, there are a few growth hacks you can use to promote your webinar:
-
Mention the upcoming event in your email newsletter
-
Insert the webinar details in your email signature
-
Embed a webinar widget on your homepage
If your webinar will feature guest speakers, you could also ask them to cross-promote.
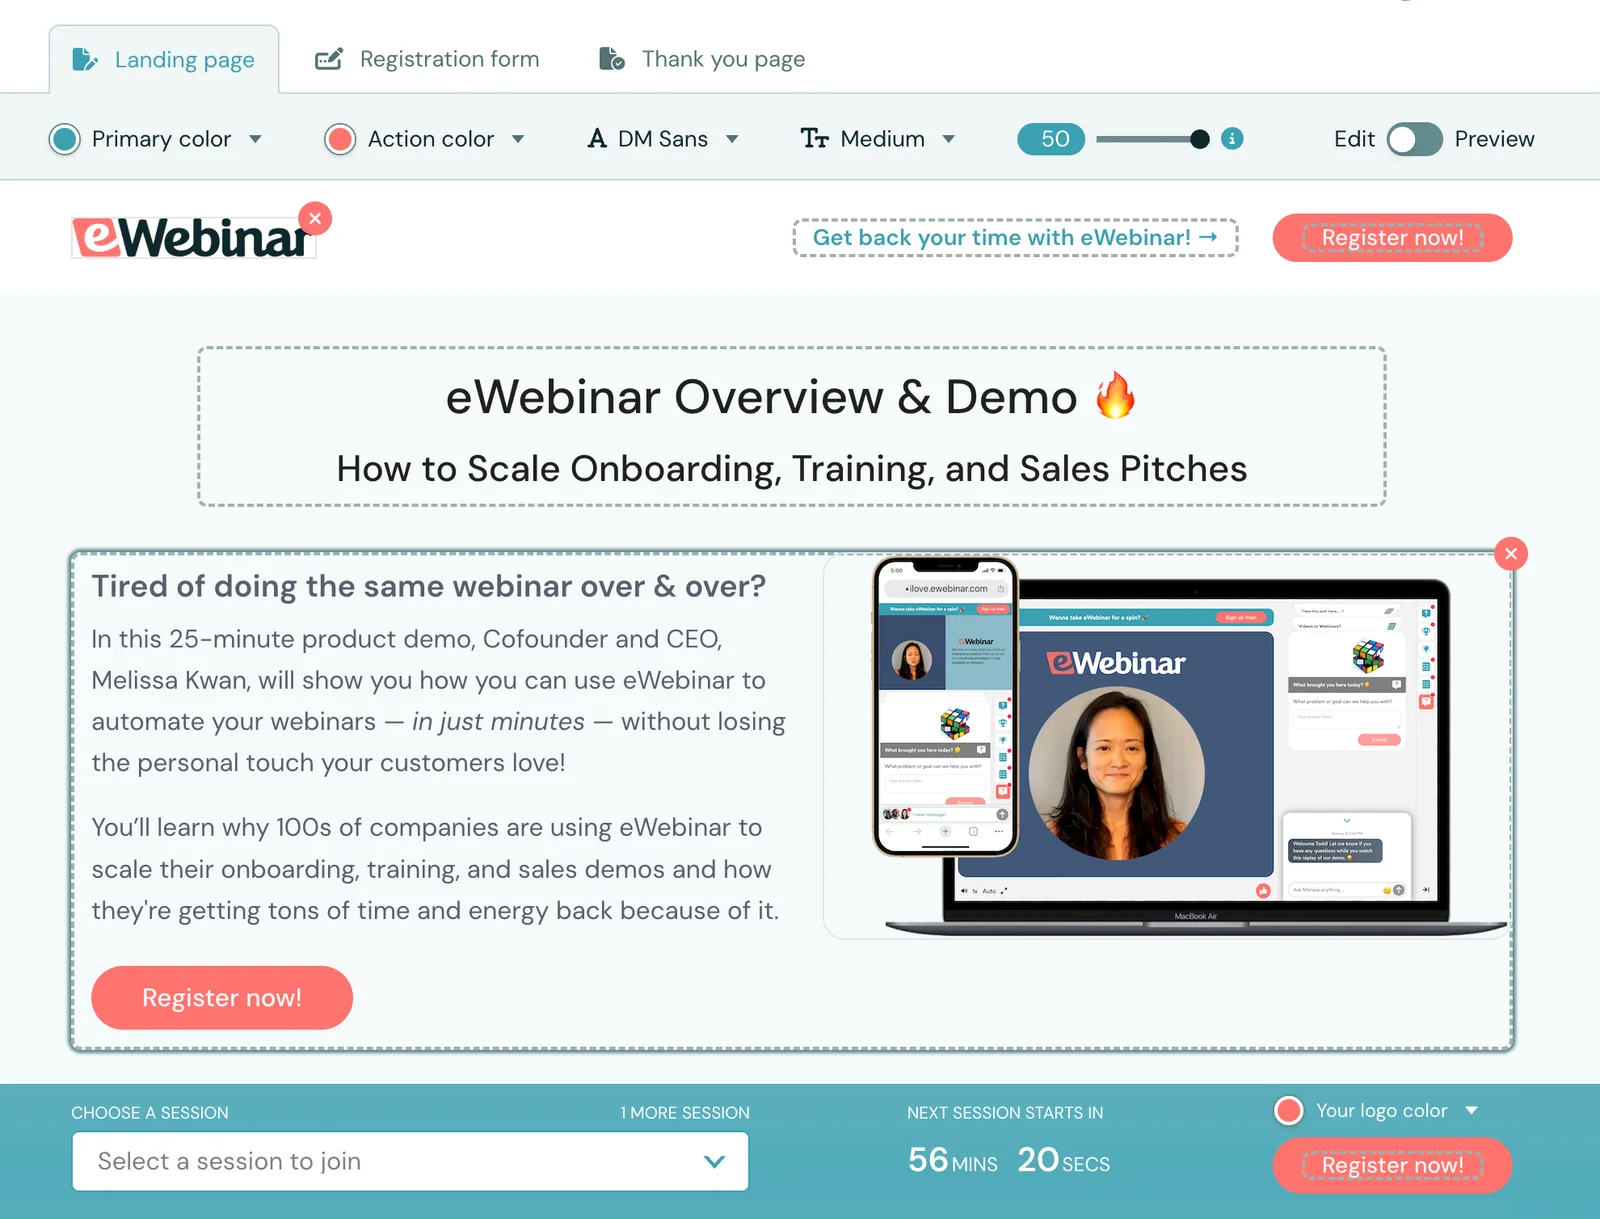
Those using our webinar platform, eWebinar, can even embed registration cards within their blog posts to maximize visibility. Below is a working example of an embedded webinar registration widget that you can use to watch our demo 😉
Ideally, you want to start promoting your webinar at least two weeks before the event date.
To learn more, read our full guide on 25 Ways to Promote an On-Demand Evergreen Webinar! Though the strategies covered in that guide were meant for pre-recorded webinars, most of them can be applied to live webinars too.
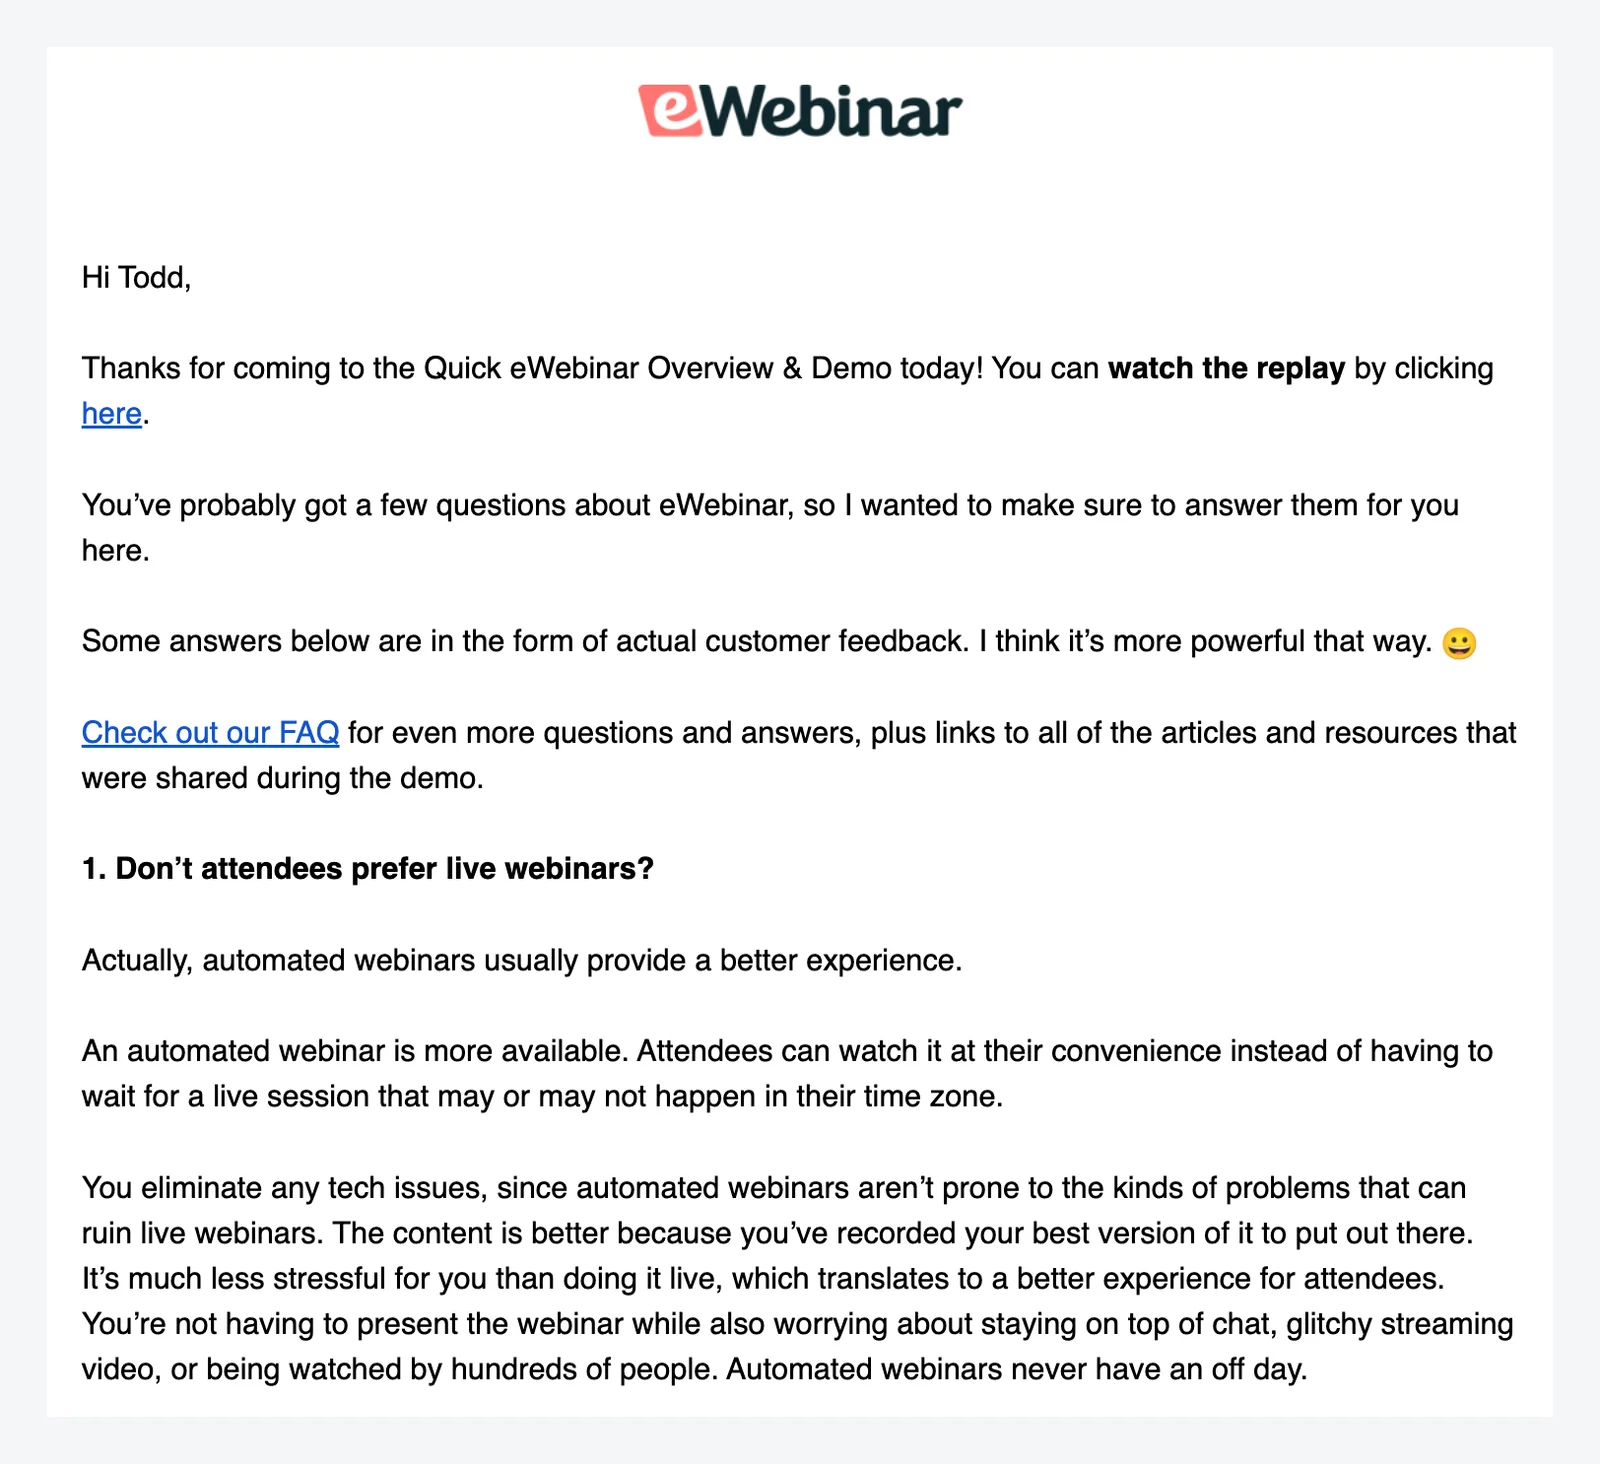
Step 9. Post-webinar follow-up
Congratulations, you hosted a webinar!
Now what?
Well, it's time to follow up with everyone who attended your webinar. There could be a large audience of warm leads who are on the brink of taking the next step — just one follow-up away from performing the desired action.
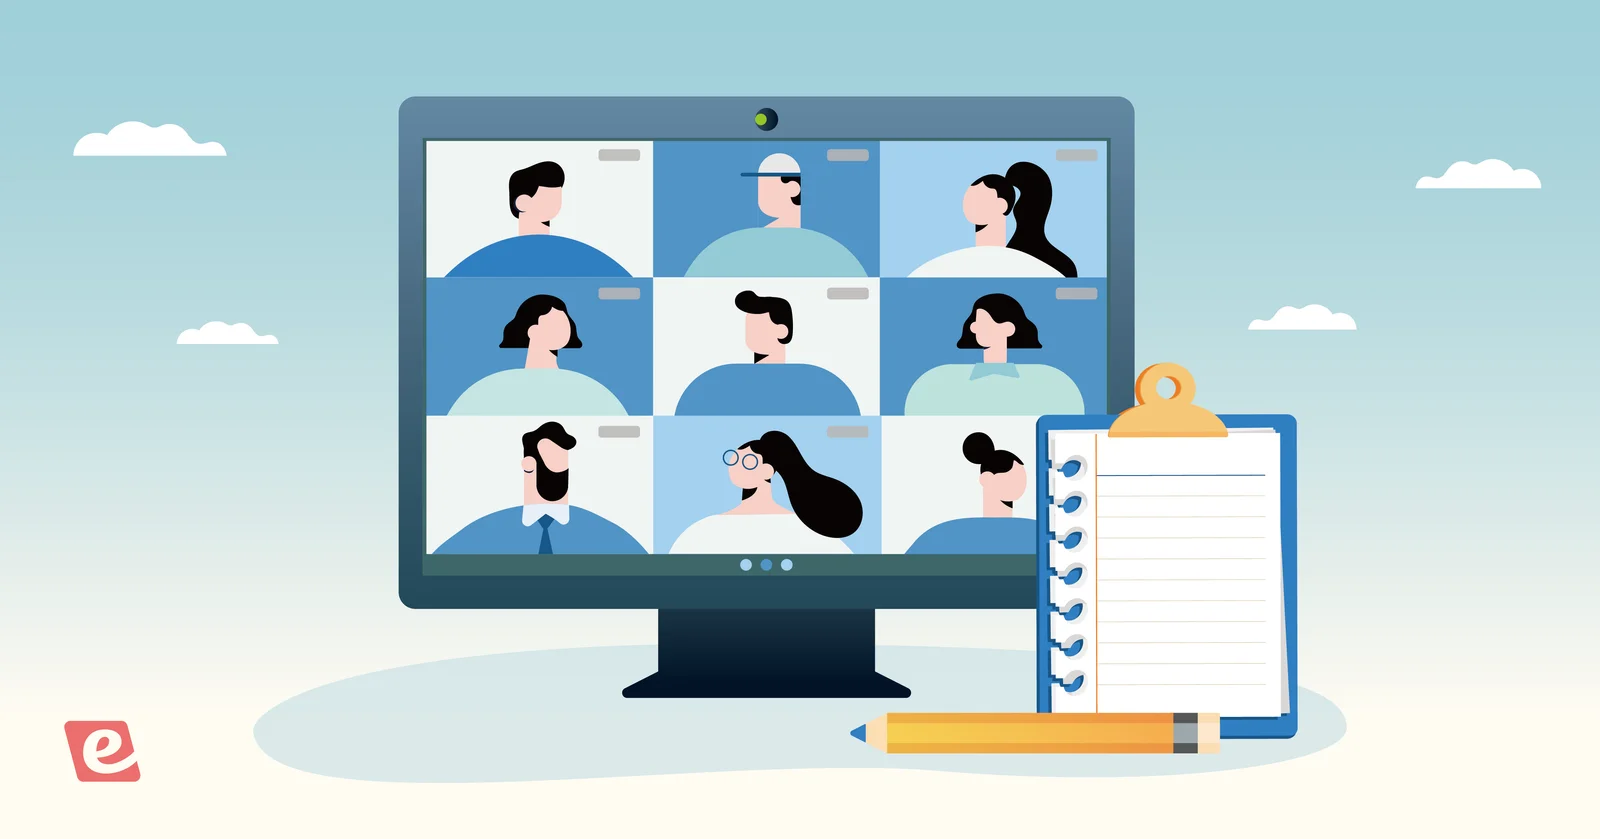
When sending webinar follow-up emails, it's best to segment recipients into three categories:
-
Those who didn't attend at all
-
Those who left the webinar early
-
Those who finished the entire webinar
This will help you personalize follow-up emails to ensure they resonate with the recipient.
You can also take this opportunity to collect feedback that will help you improve future webinars.
Three post-webinar survey questions we recommend asking are:
-
How would you rate this webinar?
-
Were your expectations met?
-
What needs to be improved?
The first question will give you a quantitative measure (i.e. 1-10 or five stars) of how satisfied attendees were with the webinar. While the second question could yield a binary yes or no, you also stand the chance to get more detailed responses.
If not, the third question usually brings in specific and actionable feedback.
To learn more, read our full guide on Best Webinar Survey Questions to Ask Before, During, and After!
Bonus step: webinar automation
As promised, there's a tenth step that most people miss.
This not-so-secret weapon is the power of webinar automation.
If you're familiar with the results that a live webinar can bring, just imagine what would happen if you could automate your webinars and run them on a recurring schedule or make them available on demand while getting the same or better results.
You would be able to reach more people while spending less time doing webinars!
A common misconception is that automated webinars are less interactive than live webinars because the presentation is pre-recorded. This simply isn't true anymore since modern pre-recorded webinar platforms let you communicate with attendees and use interactive elements to keep the audience engaged.
If you’re hosting the right types of webinars, switching from live to pre-recorded webinars can easily result in greater attendance, longer watch times, increased engagement, and higher conversion rates.
If one or more of the following is true for you and the webinars you host, we recommend you give webinar automation a try.
-
You host the same webinars over and over again
-
You do customer onboarding, training webinars, or sales demos
-
You hate presenting live
-
You are tired of technical difficulties
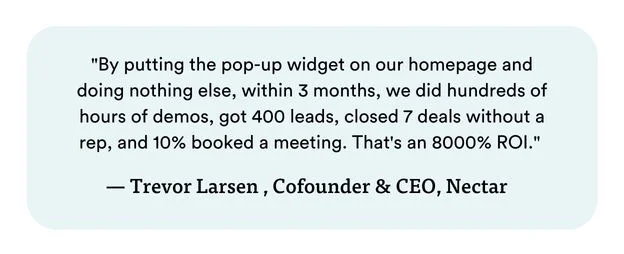
Don't take our word for it, just see what our customers have to say about eWebinar:
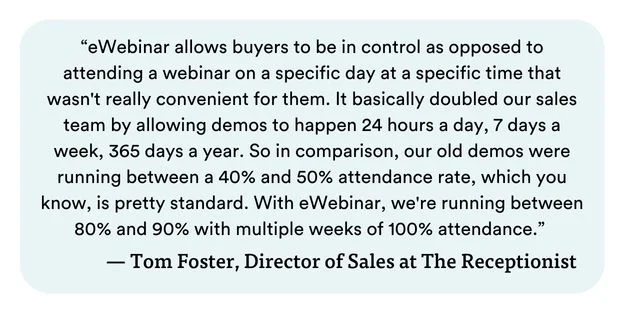
Our flexible scheduling, chat capabilities, and interactive features come together to yield extraordinary results. The fact that the presentation is pre-recorded not only makes your webinar more scalable but also removes the risk of any technical difficulties.
To experience an automated webinar for yourself, watch our demo!
(Because we use eWebinar to demo eWebinar.)
Conclusion
Whether you're planning to use webinars for thought leadership, training sessions, customer success, product demos, lead generation, or driving sales — the possibilities are limitless when you plan thoroughly, execute properly, and leverage the scalability of webinar automation.