eWebinar lets you integrate with an SMTP service so you can send out attendee notifications from your email platform of choice, like MailChimp or SendGrid, rather than through eWebinar.
This has two main benefits:
1. You can send out emails from your own domain and no longer need to show "via eWebinar" in conjunction with the sender name on your emails, helping you create a more branded experience.
2. It opens the door for you to auto-register people for your eWebinars using registrant data from a different application.
To learn more about how to auto-register people for your eWebinars (and why using a third-party email service is a prerequisite), read this article:
To set up eWebinar's integration with an SMTP service, do the following:
Login to eWebinar, go to the Integrations page, and click SMTP Service under Available integrations. Then take the following steps:
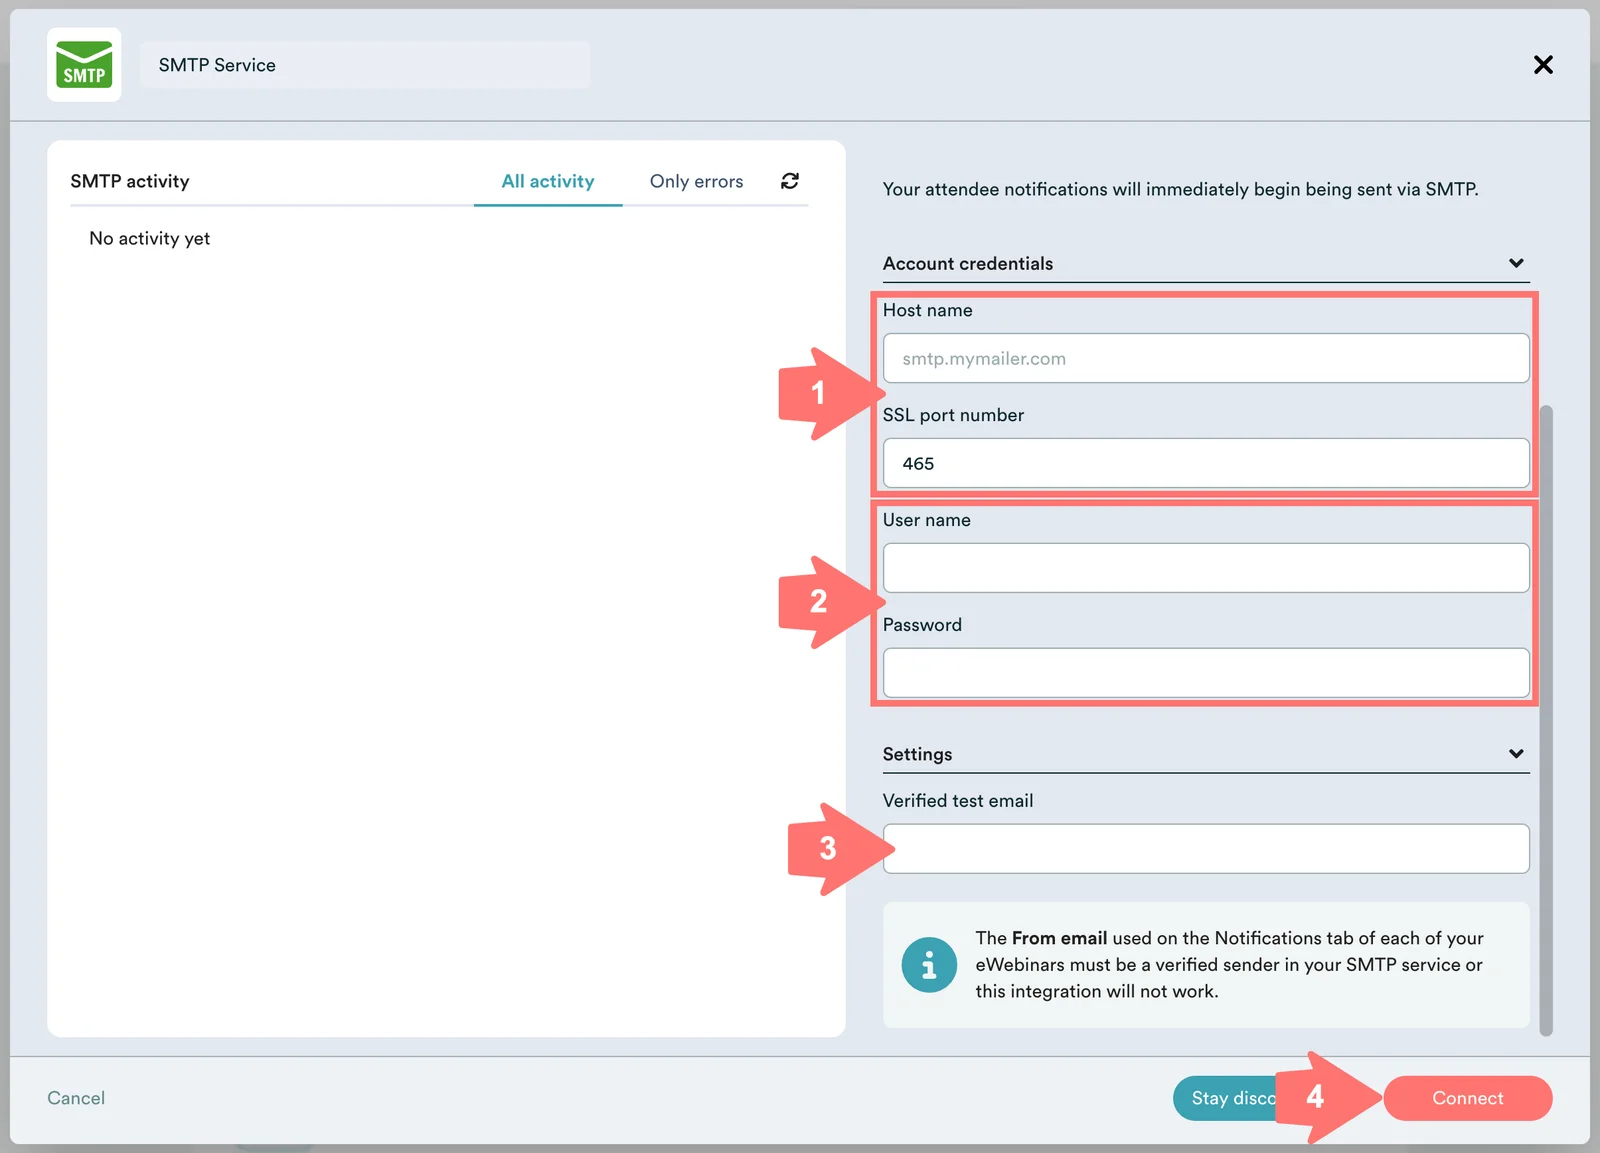
1. Find the Host name and SSL port number in your email platform and enter them into the fields provided.
2. You must also provide a Username and Password from your email platform to use to send mail on your behalf.
NOTE: For many services including GMAIL.com, the password used will not be the personal password you use to sign into the service. Instead you will need to generate some type of App key or password.
For GMAIL:
Some secure apps can be blocked from accessing your mail account due to two-step verification. An app specific password allows the blocked app or device to access your mail account.
Here’s a quick tutorial on how to create an app specific password:
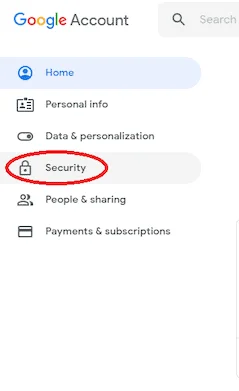
1. Go to your Google Account and choose Security on the left panel.
2. On the Signing in to Google tab, select App Passwords.
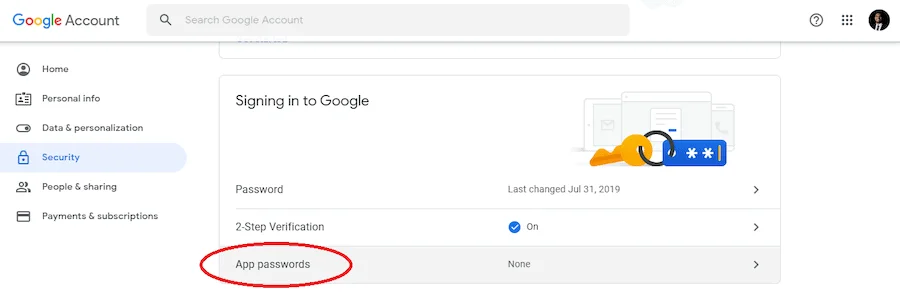
If you don’t see this option, it might mean that:
- Two-step verification is not set up for your Google account.
- Two-step verification is set up for security keys only.
- Your account is used through work, school, or another organization.
- You’ve turned on Advanced Protection for your account.
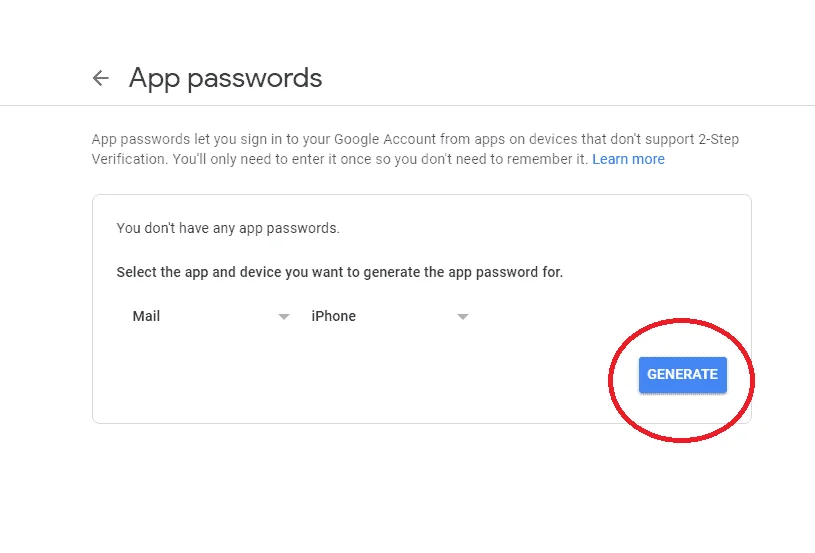
3. Click on Select app and pick the app you’re using.

4. Click Select device and choose the device you’re using.
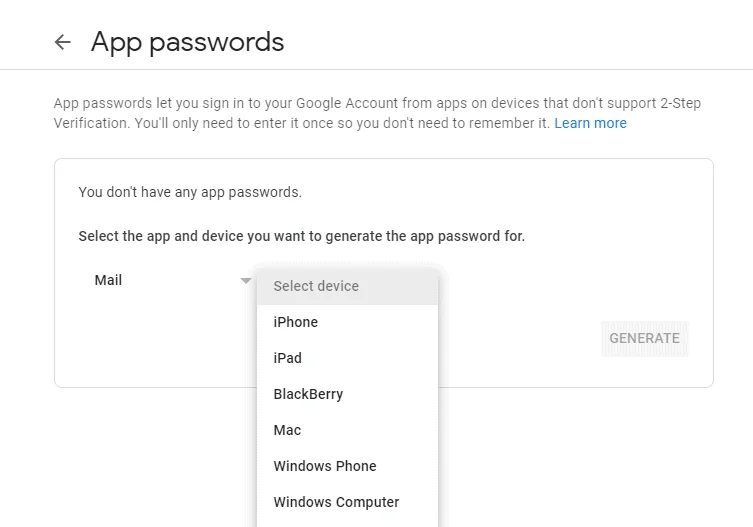
5. Click on Generate.
6. Follow the instructions to enter the App Password.
The App Password is the 16-character code in the yellow bar on your device.
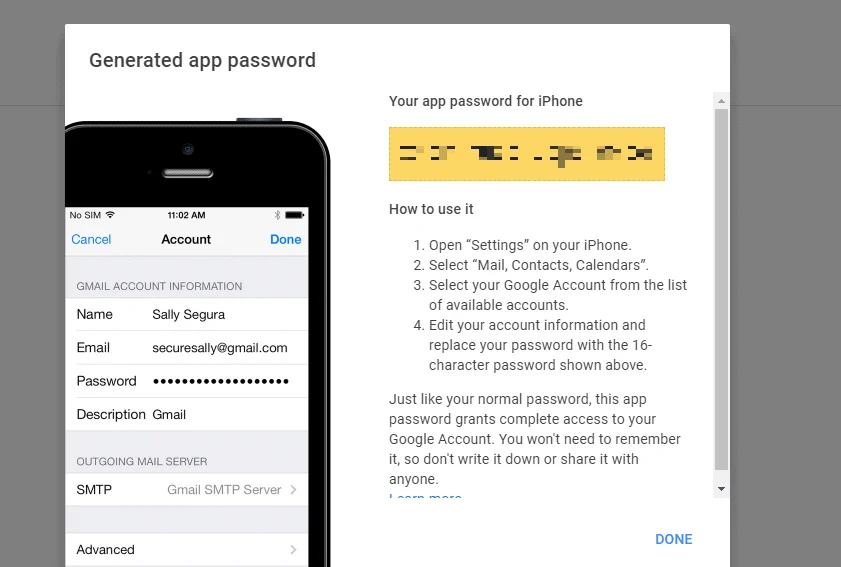
7. Click on Done.
8. Enter this password as the password in the eWebinar SMTP Integration card
If you have trouble finding the items listed above, reach out to the support team of your email platform for assistance.
3. Enter a Verified test email to use to test the integration.
4. Click Connect.
5. As a final step, verify that the From email on the Notifications tab of each of your eWebinars uses an email address that has been verified by your SMTP service. Otherwise, the integration will not work.
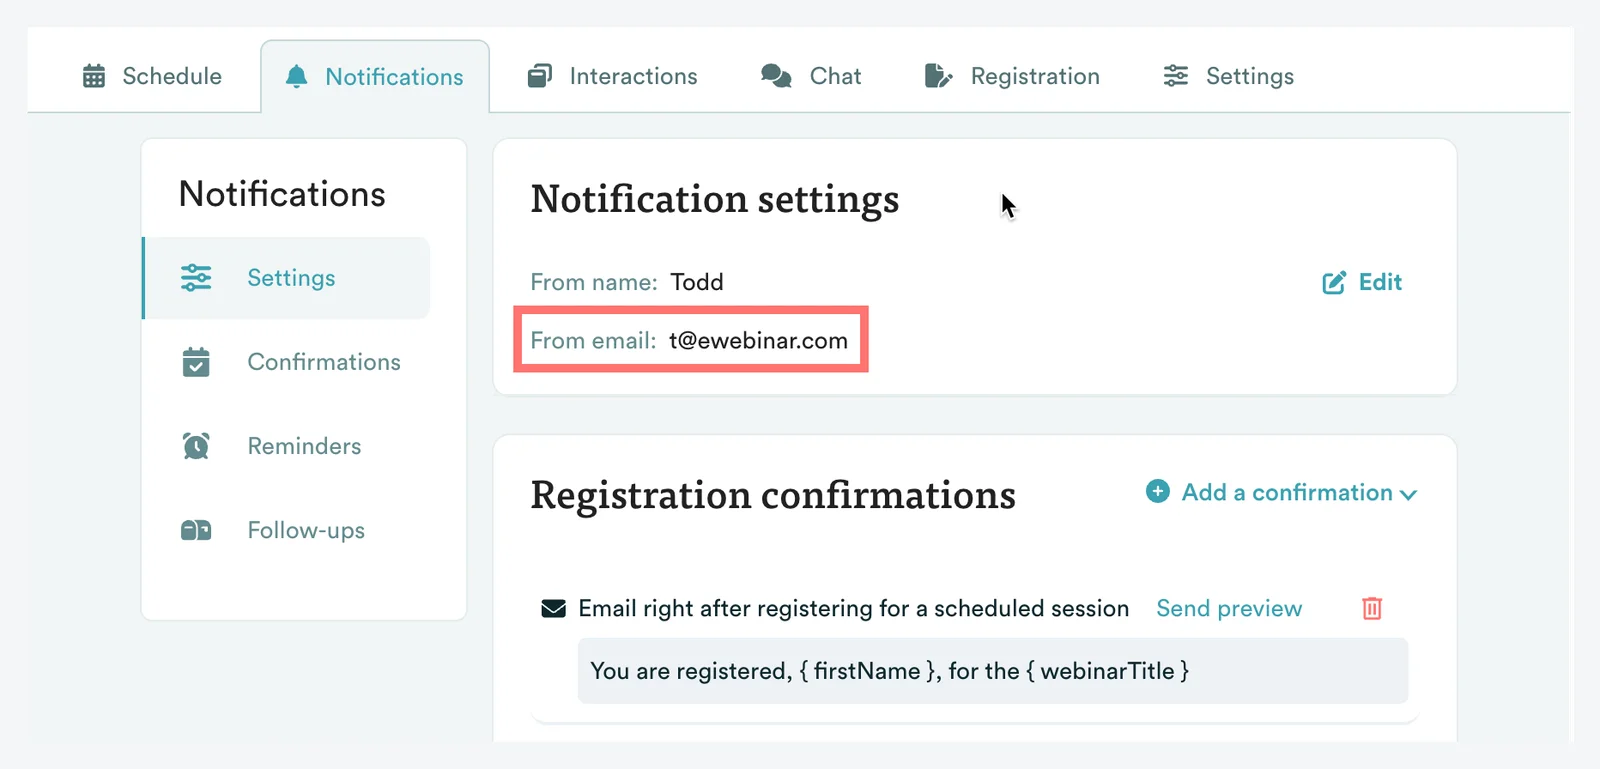
If you need assistance figuring out how to verify emails in your SMTP service, reach out to your email platform for support.
Provided everything has been set up correctly, attendee notifications will immediately begin being sent via SMTP.