Use eWebinar’s built-in Meta (Facebook) Pixel to track registration page visits, registrations, and session joins — or add your own pixel script via Scripts manager.
Set up the built-in Meta Pixel
- Open your eWebinar and go to the Registration tab.
- Find Scripts & pixels.
- Turn on Send Meta Pixel events.
- Enter your Pixel ID from Meta Events Manager.
- Publish your eWebinar so the change goes live.
Turning Send Meta Pixel events off clears the pixel ID and any Conversions API settings for that eWebinar.
Conversions API (optional)
For more reliable tracking when ad blockers strip the browser pixel, you can also paste a Conversions API access token from Events Manager (your pixel → Settings → Generate access token).
When a token is saved, eWebinar sends the same events from our servers as well as from the browser. Meta deduplicates them using a shared event ID, so you do not get double-counted conversions.
Live traffic never uses a test event code. To confirm CAPI is wired correctly before you go live:
- In Events Manager, open the Test events tab and copy a code that starts with
TEST(for exampleTEST12345). - Paste it into Test event code next to your access token.
- Click Send. You should see the test event in Events Manager → Test events.
You can send a test event with the values currently typed in the form — you do not have to save first. Pixel ID, access token, and a valid TEST… code are all required to enable Send.
Events eWebinar sends
With the built-in pixel enabled, eWebinar fires these events (and mirrors them through Conversions API when a token is saved):
- Visit Registration — someone opens the registration page
- Open Registration Form — someone opens the registration form
- CompleteRegistration — standard Meta event when registration finishes (fired from the registration form before navigation to the thank-you page, so it still works when the thank-you page is skipped — for example some on-demand just-in-time sessions)
- Joined Session — the registrant joins a scheduled session or replay
Cookie consent
If your team’s cookie banner is set to Show banner or External banner, the built-in Meta Pixel (and Conversions API) only run after the visitor grants tracking consent. If the banner mode is Off, events are sent without waiting for consent. See How do I set up a GDPR cookie banner?.
Page views
eWebinar also calls PageView on the pixel for pages an attendee visits. URLs include your eWebinar slug and IDs; useful patterns:
| Room | URL contains | Example |
| Presentation room for scheduled session | /join/ | https://ilove.ewebinar.com/webinar/150/join/662421 |
| Presentation room for replay session | /replay/ | https://ilove.ewebinar.com/webinar/150/replay/662421 |
| Thank you page | /thankyou/ | https://ilove.ewebinar.com/webinar/15-minute-ewebinar-walkthrough-and-demo-150/register/thankyou/662421 |
| Registration page | /webinar/ and none of the patterns above | https://ilove.ewebinar.com/webinar/15-minute-ewebinar-walkthrough-and-demo-150 |
Use a custom Meta / Facebook tracking script
You do not have to use the built-in Pixel ID. You can add your own script under Scripts & pixels on the Registration tab, or in the Scripts manager:
- Click Add new script.
- Name the script (for example: Meta pixel).
- Paste the script from Meta into the editor.
- Optionally turn on Disable script if visitor declines GDPR cookies so it does not run when the visitor declines.
- Click Next, choose which pages to run it on (registration, thank you, and/or presentation room), then Save & publish.
Note: You may need to refresh the registration page a couple of times to see the newly published script.
Verify your eWebinar subdomain with Meta
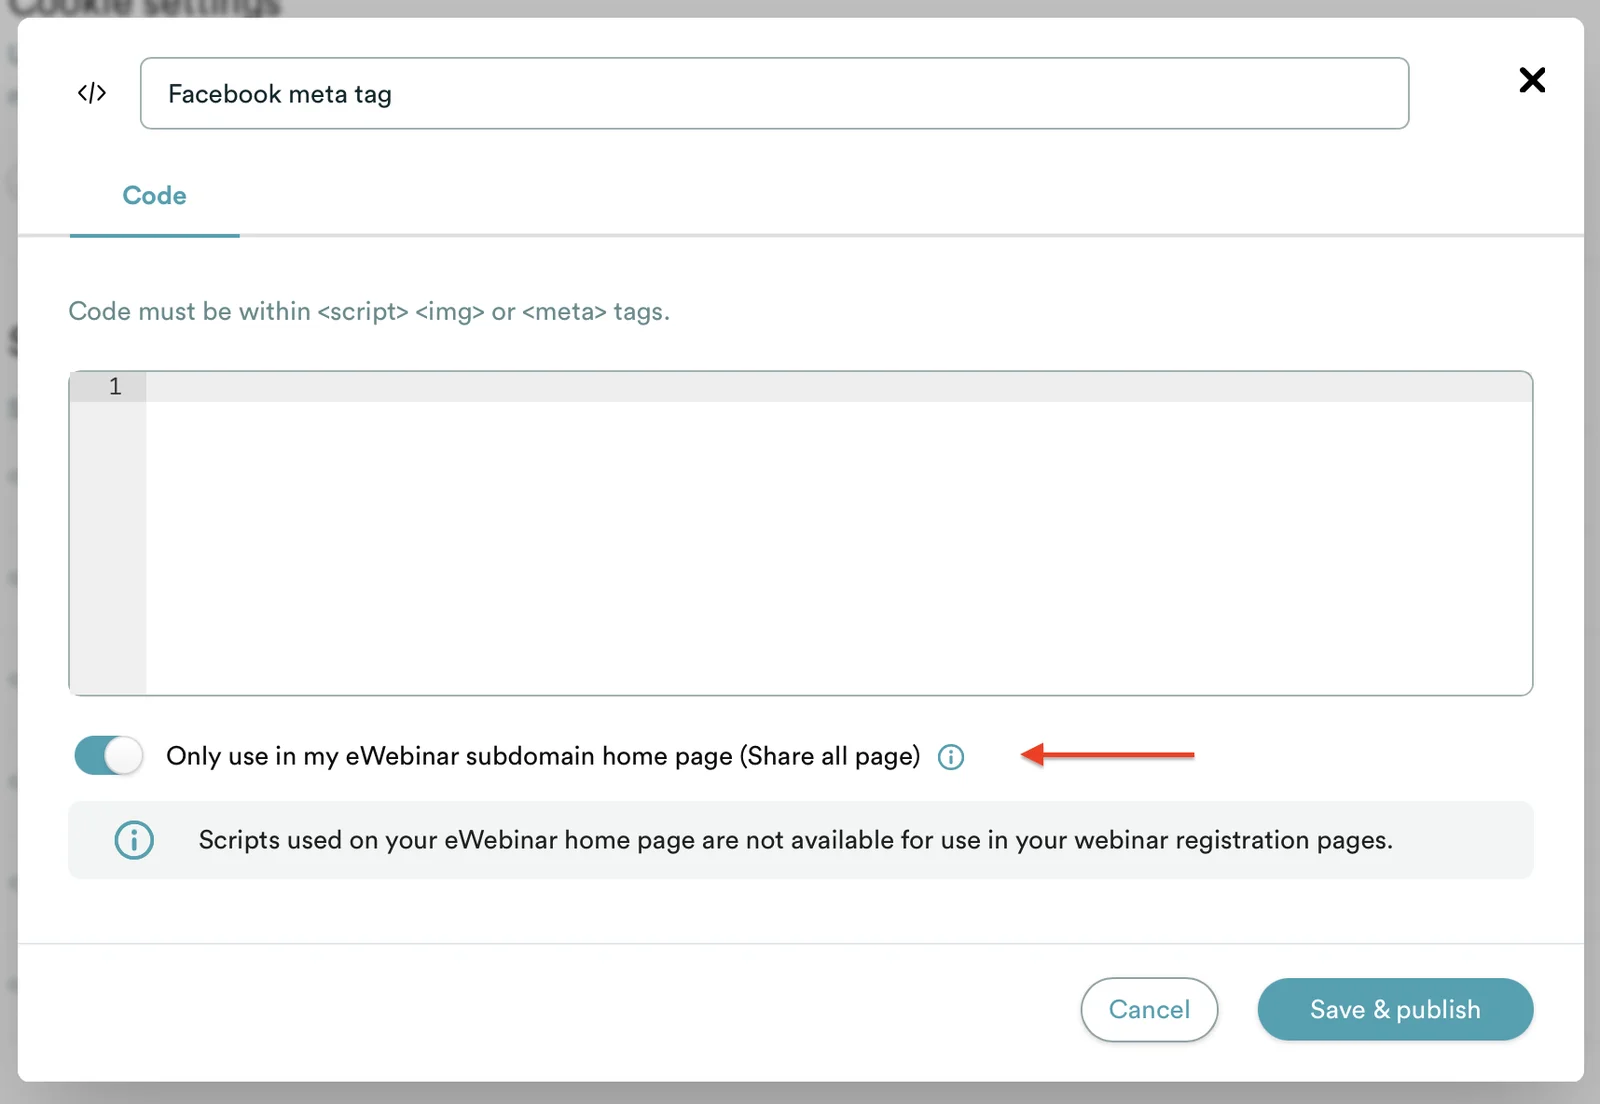
Meta may require you to verify your domain (or subdomain) for pixel tracking. Use Scripts manager to place Meta’s <meta> tag on your subdomain home page:
1. Confirm your subdomain
In My profile, check the subdomain field (for example ilove → https://ilove.ewebinar.com).
2. Get the meta tag from Meta
In Meta’s domain verification flow, add your subdomain (for example ilove.ewebinar.com) and copy the meta tag they provide.
3. Add it in Scripts manager
- Click Add new script.
- Paste the
<meta … />tag into the script box. - Select Only use in my eWebinar subdomain home page.
- Click Save & publish, then finish verification in Meta.