How do I integrate eWebinar with MailChimp?
Integrate with MailChimp to have registrants added automatically to your audience of choice
To set up the integration between eWebinar and MailChimp, walk through the following steps:
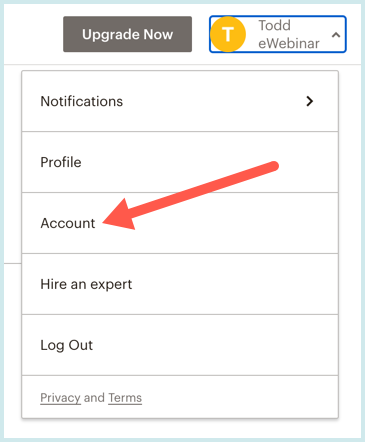
1. Login to MailChimp, open the profile menu, and go to your Account page.
NOTE: You may need to create a MailChimp account first.
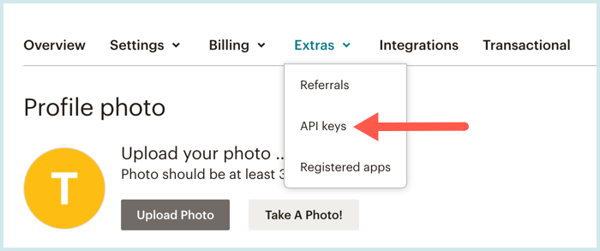
2. Under Extras, go to API keys.
3. Scroll down to Your API keys and click Create A Key.

NOTE: It's a good idea to label the API key "eWebinar" to remember what it is for.
4. Copy the API key you just created.
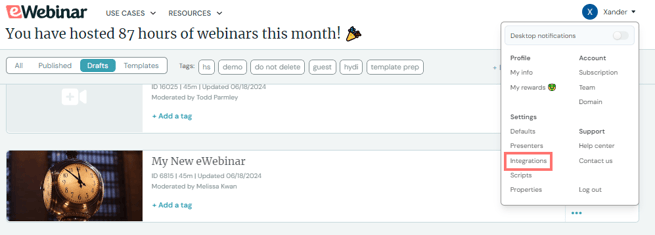
5. Login to eWebinar and open the profile menu to get to the Integrations page.
6. Click the plus sign (+) next to MailChimp under Available Integrations.

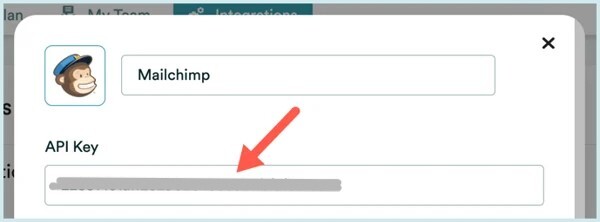
7. In the modal window that opens, paste the API Key into the field provided.
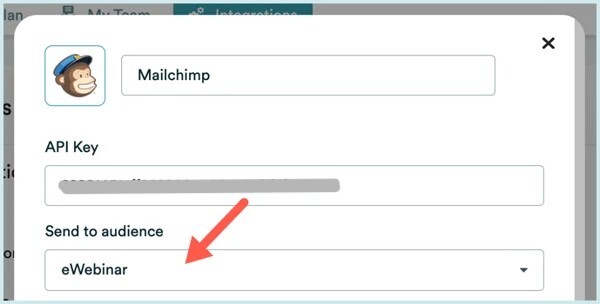
8. Assign the registrants you send from eWebinar to an audience in MailChimp.
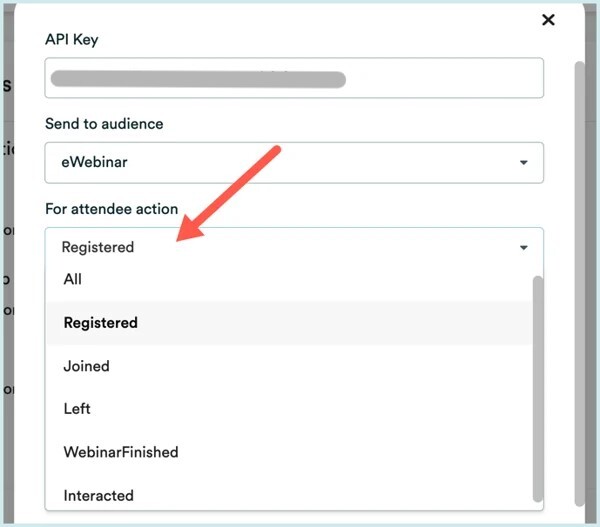
9. Select the action you would like to trigger the registrant/attendee to be sent from eWebinar to MailChimp. Registered is selected by default, but you can select any of the actions listed in the drop-down. If you select All, the registrant/attendee will be sent to MailChimp when any of the actions occur.
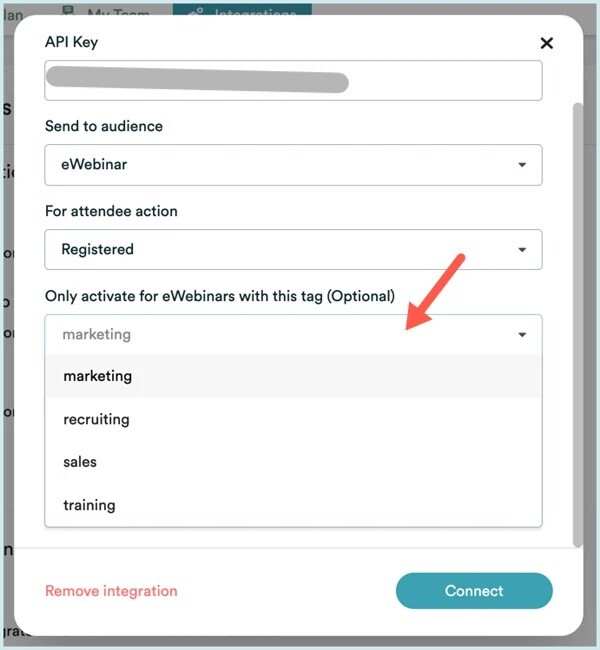
10. If you would like your MailChimp integration to apply to all of your eWebinars, skip this step.
If, however, you want it to apply only to certain eWebinars, select a tag from the list of available tags. When and only when you add the same tag to an eWebinar will the MailChimp integration be used with that eWebinar.
NOTE: The four tags to choose from by default are marketing, recruiting, sales, and training, but you can create your own custom tags within eWebinar. Click here to learn more about tags and how to add them to your eWebinars.
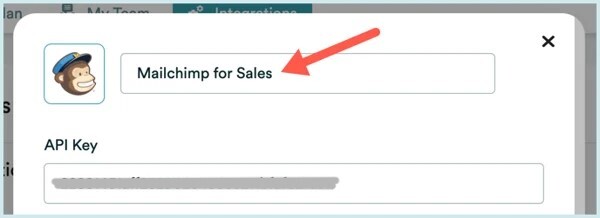
TIP: You can create multiple MailChimp integrations and tag them to be used with different tagged eWebinars. If you decide to do this, it is a good idea to name your MailChimp integrations differently so as to tell them apart.
11. When you are satisfied with how the integration has been set up, click Connect.

Once the integration with MailChimp has been set up, you can turn it on or off on the Integrations page of your eWebinar account.
